Showing posts with label Tints. Show all posts

Tuesday, April 9, 2019

Delicious Desserts, Inspired by Wayne Thiebaud

After exploring color mixing by creating new colors and naming them, 3rd grade artists looked at and discussed the work of American painter Wayne Thiebaud. Thiebaud (pronounced "tee-bow") is known for his paintings of everyday objects, like food, and is still alive and making art today! 
Wayne Thiebaud, Four Ice Cream Cones (1964)
We looked at his paintings of different kinds of desserts and noticed his use of bright colors and dramatic, colorful shadows. Looking at several examples made us hungry! 
To begin our own paintings of desserts, we looked at the geometric shapes and forms that make up a lot of our favorite desserts. We noticed that many desserts are either a cylinder, like a cake or pie; a cone shape, like an ice cream cone; a sphere, like the scoop of ice cream; or a triangular prism, like a slice of cake. We brainstormed and drew a few sketches of our favorite desserts before selecting one to sketch out on larger paper, focusing on the shapes. 
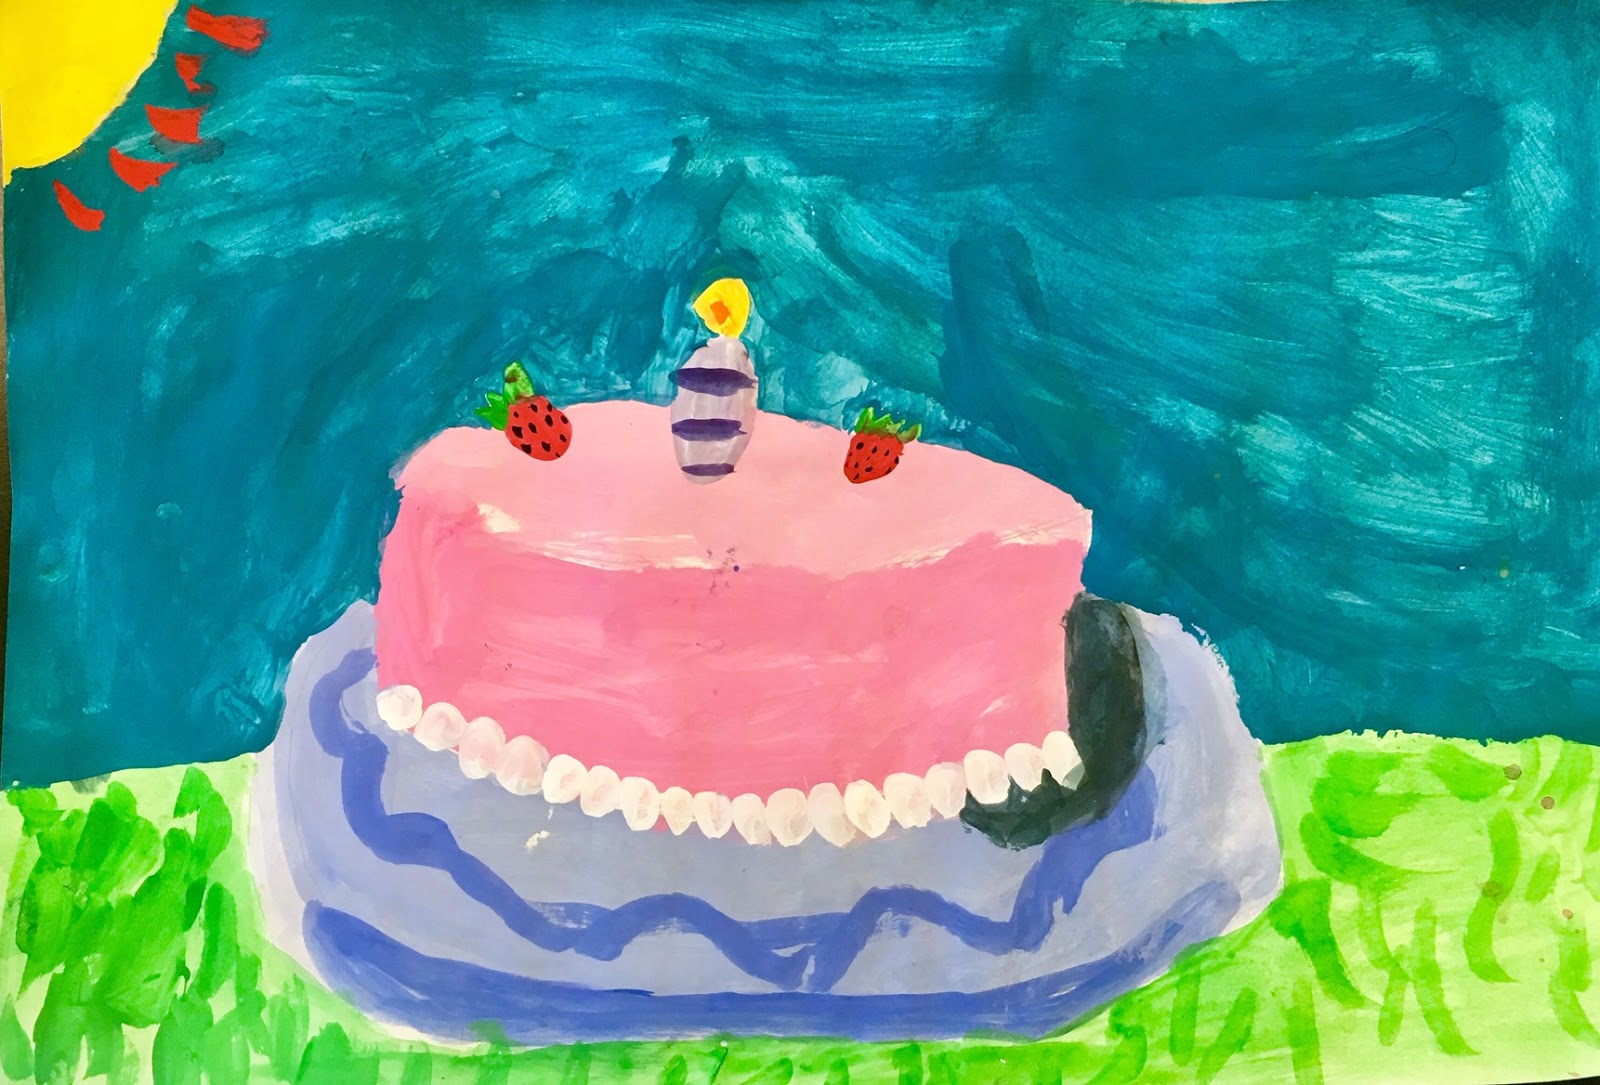
The following class, we used our recent experience with mixing colors to paint our favorite desserts! We thought about how we could mix a variety of colors, thinking about the bright colors that Thiebaud uses in his painting, as well as using white to create lighter tints of a color. 
Students painted their desserts, incorporating tints, and the following week, they added additional details on top, now that the first layer of paint had dried. Students thought about how they could decorate their cakes, ice cream cones, sundaes and doughnuts with creative details like frosting, sprinkles, flowers, candles and hot fudge. 
During the next class, students painted the background, considering the use of a complementary colors and colors that would help their desserts to stand out. Since Thiebaud is also known for his use of strong shadows, we looked at cast shadows and how the shape of the object changes the shape of the shadow. Students added a colorful shadow to their dessert, and many students actually chose to add a window in their background to show a light source. 
For our last class, students participated in a gallery walk to see everyone's artwork and also a turn and talk to share their work with a partner. Here are some colorful examples of our delectable Wayne Thiebaud inspired desserts:
Ditty, 3rd Grade (Fletcher)
Gianna, 3rd Grade (Monfette)
James, 3rd Grade (Donato)
Laisa, 3rd Grade (DeBaie Nickl)
Mane, 3rd Grade (Fletcher)
Mary, 3rd Grade (DeBaie Nickl)
Norah, 3rd Grade (Monfette)
Ruken, 3rd Grade (DeBaie Nickl)
Sean, 3rd Grade (Donato)
Bianca, 3rd Grade (Debaie Nickl)
Duncan, 3rd Grade (Fletcher)
Griffin, 3rd Grade (Fletcher)
Leila, 3rd Grade (Donato)
Mason, 3rd Grade (DeBaie Nickl)
Noa, 3rd Grade (Donato)

Thursday, March 22, 2018

Monochromatic Tints & Shades Landscapes

Continuing our study of value, 5th grade artists explored tints and shades of colors. Tints are made by adding white to a color and shades are made by mixing black with the color. We began by practicing mixing our shade and tints, choosing three different colors to explore. 
We also learned about the concept of atmospheric perspective, which can be seen in many landscape photographs and paintings. Atmospheric perspective describes the effect of objects being lighter in color as they get further away from you, and darker in color when they are closer. In addition, you can see more detail in the foreground and less detail in the background. We looked at some examples of photographs and paintings that demonstrate this concept. 
We discussed how landscapes can be organized with a foreground in the front, middle ground, and background. We looked at different examples of landscapes, including rural or countryside landscapes, urban cityscapes, and even fantasy landscapes inspired by books and video games. Students sketched a landscape of their own creation, including more details in the foreground, and numbering their layers to match the tints and shades gradients they painted earlier. 
The following class, students chose just one color to use for their tints and shades in their artwork, based on their explorations. When artists use shades and tints of the same color in their artwork, it is called monochromatic. 
Students began painting the background or the lightest layer first, and then painted each layer a darker tint until they arrived to their color and their shade. We discussed keeping the details as silhouettes, or outlines of the shapes. Here are some examples:
Bella, 5th Grade (Psychoghios)
Aiden, 5th Grade (Twomey)
Nolan, 5th Grade (Twomey)
Anna, 5th Grade (Twomey)
Sona, 5th Grade (Twomey)
Aliana, 5th Grade (Twomey)
Jack, 5th Grade (Twomey)
Emily, 5th Grade (Twomey)
Cammy, 5th Grade (Twomey)
Domenic, 5th Grade (Domermuth Fantasia)
Miah, 5th Grade (Domermuth Fantasia)
Yazmin, 5th Grade (Bellis)
Sila, 5th Grade (Bellis)
LiaLah, 5th Grade (Bellis)
Kate S., 5th Grade (Bellis)
Tristan, 5th Grade (Bellis)

Monday, March 27, 2017

Tints & Shades, Two Ways

Recently, 5th grade artists explored tints and shades through color mixing. A tint is a color mixed with white and shades are made by mixing in black. Students experimented with creating tints and shades of three different colors to help them decide which color they ultimately wanted to use in their artwork.
The following class, students were given two different options for painting tints and shades. The first option involved a technique called masking, where students used masking tape to seal off different areas of the paper to create separated areas for their tints and shades. 
Students who chose this option placed the pieces of masking tape on their clothing first, to make it a little less sticky so that it would not rip the paper when removed. Then students mixed tints and shades of once color, painting each section with a different tint or shade. After the painting dried, students gently removed the tape to reveal the paper underneath, which created white lines that neatly separated their tints and shades.
The second option involved repeating a shape, like a circle, starting with the lightest tint in the center and adding concentric rings of gradually darker tints and shades. Below are examples of both options for our tints and shades paintings. Some of them are also on display in the connector hallway!
Ani, 5th Grade (Psychoghios)
Anna Julia, 5th Grade (Domermuth)
Bella, 5th Grade (Twomey)
Cyrus, 5th Grade (Bellis)
Danial, 5th Grade (Twomey)
Jaydon, 5th Grade (Psychoghios)
Joe, 5th Grade (Psychoghios)
Leanne, 5th Grade (Psychoghios)
Sevag, 5th Grade (Twomey)
Sidney, 5th Grade (Twomey)
Elena, 5th Grade (Bellis)
Molly, 5th Grade (Bellis)
Roy, 5th Grade (Domermuth)
Wellington, 5th Grade (Domermuth)