Showing posts with label Food. Show all posts

Thursday, June 25, 2015

Papier Mache Ice Cream Cones

In anticipation of the summer, 4th grade finished up the year with papier mache ice cream cones! After our tints and shades painting exploration, we began the papier mache project by creating the armature or structure of our papier mache cones.
Students filled paper cups with newspaper so that they would not fall over. Then they balled up more newspaper, wrapping masking tape around the "scoops" to secure them to the paper cup "cone." 
The next class, students learned how to papier mache, using art paste that is clear and thick consistency. We took a little of the art paste in our hands, then took strips of newspaper and rubbed them in between our hands. This kept the art paste from dripping everywhere and allowed them to get fully coated. Each piece was applied to the armature and layered on top of each other to fully cover the cone and scoops. 
For the final layers, we used white newsprint paper for the ice cream and brown paper towel for the cone, so they would be easier to paint without the newspaper showing through.
The papier mache had time to dry over the course of a week and the following class, students used their knowledge of tints and shades to paint their ice cream cone scoops. 
We looked at Wayne Thiebaud's ice cream cones painting for inspiration. Some students mixed colors to make mint chocolate chip, strawberry, coffee, chocolate and caramel flavors.
The last step was to cover the entire cone with a clear varnish called Mod Podge. Here are some examples of our delicious, drippy ice cream cones!
Some of our finished ice cream cones!
Mrs. Stone's class
Mr. Dubuque's class
Mrs. Mattson's class
Mrs. Doherty's class

Friday, June 5, 2015

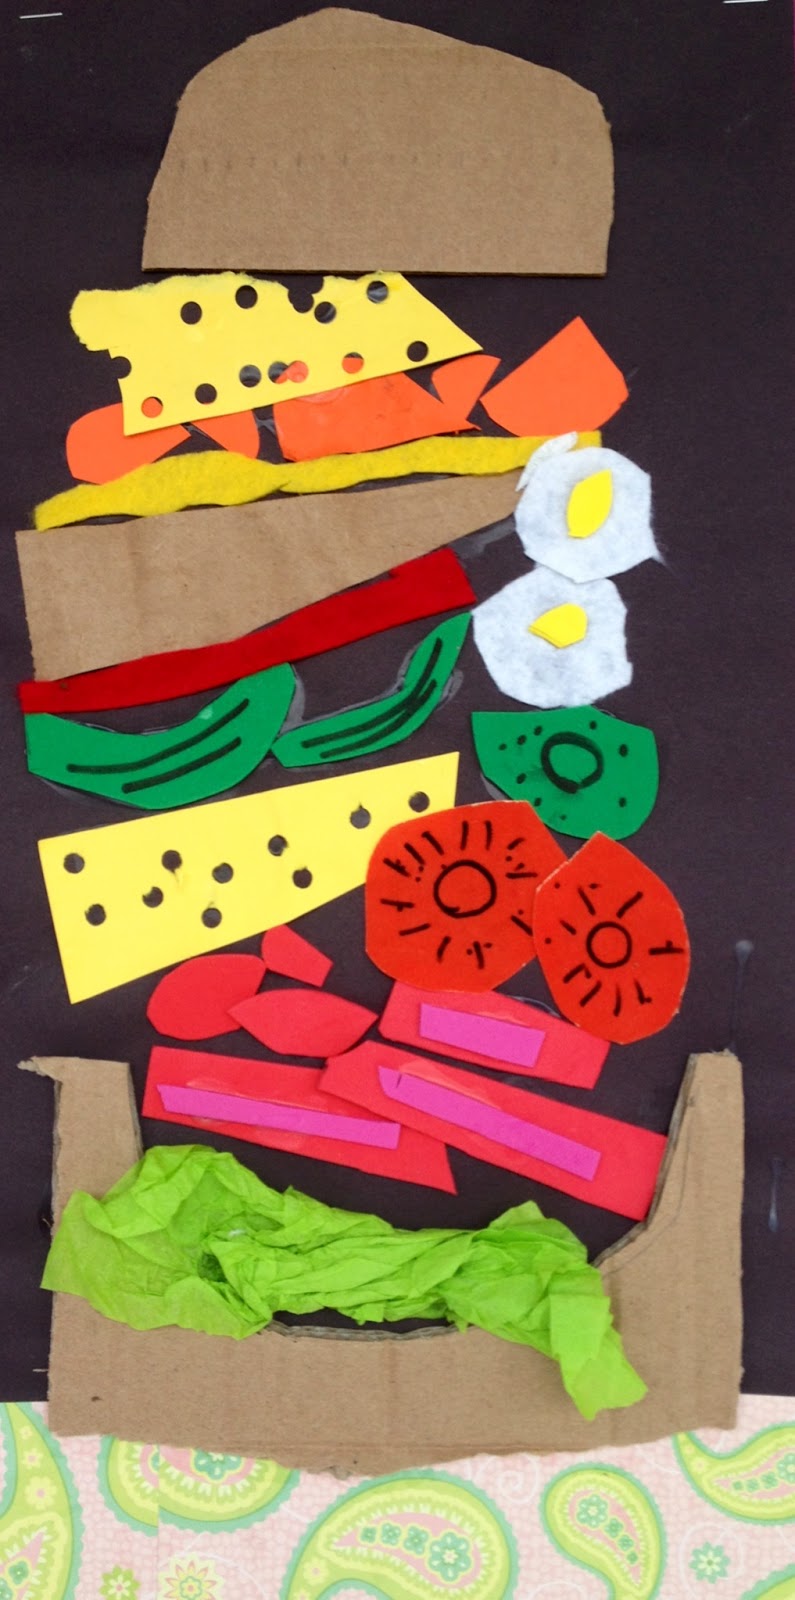
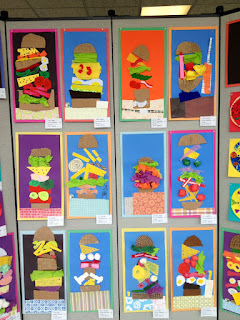
Texture Sandwiches

2nd grade artists have been exploring texture through the creation of texture sandwiches! We brainstormed delicious sandwich ingredients, including bread, cheese, peanut butter, pickles, avocado, marshmallow fluff, bacon, etc. We made a long list on the board to give students ideas.
We began with a long piece of paper and creating a table on which to put the sandwich. Some students included a plate. Then it was time to build the sandwich, beginning with the bread and adding different materials with various textures to represent the ingredients. 
Students got very creative with the ingredients, as well as how they used their materials. For example, some students used cotton balls to represent marshmallow fluff, while others turned them into eggs, and another student even wrapped them in red paper to transform them into spaghetti and meatballs!
Here are some examples of our mouth-watering creations! Some of them are on display for the Extravaganza in the connector hallway.
Axelle, 2nd grade
Jack, 2nd Grade
Ritu, 2nd Grade
Sara, 2nd Grade
Max, 2nd Grade
Zohaib, 2nd Grade

Tuesday, March 31, 2015

Wayne Thiebaud Inspired Dessert Paintings

After exploring color mixing recently, 3rd grade artists looked at and discussed the work of American painter Wayne Thiebaud. Thiebaud (pronounced "tee-bow") is known for his paintings of everyday objects, like food.
Wayne Thiebaud, Cakes (1963)
Wayne Thiebaud, Four Cupcakes (1971)

We looked at his paintings of different kinds of desserts and noticed his use of bright colors -- even in some of the shadows. They are often painted on a white or plain background without a lot of detail, so the focus is really on the dessert. Looking at several examples made us hungry!
Wayne Thiebaud, Four Ice Cream Cones (1964)
To begin our own paintings of desserts, we looked at the geometric shapes and forms that make up a lot of our favorite desserts. They can be broken down into basic shapes to start, and then decorative elements and color can be added.
We brainstormed and drew a few sketches of our favorite desserts before selecting one to sketch out on larger paper. The following class, we used our recent experience with mixing colors to paint our favorite desserts!

We thought about how we could mix a variety of colors, thinking about the bright colors that Thiebaud uses in his painting, as well as use white to create tints of color. Students painted their desserts, incorporating tints, and also painted the background, considering the use of a complementary color.
The following week, students added additional details using oil pastels. Students thought about how they could make their cakes, ice cream cones, sundaes and doughnuts really stand out by adding creative details like frosting, sprinkles and hot fudge. 
Since Wayne Thiebaud's paintings are also characterized by their strong shadows, we looked at cast shadows and how the shape of the object changes the shape of the shadow. Using a flashlight and a marshmallow, we also noticed that the placement of the shadow depends on the direction of the light source. Students added a colorful shadow to their dessert using oil pastels.
On the last class, students added finishing touches and came up with a title for their artwork, which they wrote on index cards. Then we had a gallery walk to look at everyone's work and shared observations afterwards. 
Students noticed that their classmates had added a variety of different details, such as making a birthday cake or adding colorful details to an ice cream sundae. We also appreciated the titles that everyone came up with, as some were quite creative! Here are some mouthwatering examples of our Wayne Thiebaud inspired desserts:
Rosemary, 3rd Grade
Annie, 3rd Grade
Alec, 3rd Grade
Mason, 3rd Grade