Showing posts with label Painting. Show all posts

Tuesday, April 23, 2019

Plaster Masks

Recently 5th grade artists created plaster masks, which took us several weeks. The process involved designing their mask, creating the mask form out of plaster strips, painting their mask and writing an artist statement to accompany their mask on display. 
Left to right: Pixabay, “mask” CC by cisc1970 via Flickr, Pixabay
We began by discussing masks, why we wear masks, and learning about masks around the world. Students connected masks to Halloween, as well as masquerade parties and even sports. We talked about how masks can help you hide your identity, or assume a different one. They can also help protect your face, or just be worn for fun. We learned that masks have a long history and have been created, used, and worn by cultures all over the world. They are also made from a variety of different materials. 
For example, in ancient Egypt, masks were used to dress the faces of the dead. Royal death masks were made of gold and bronze and meant to look like the person. In Japan, samurai masks were designed to instill fear in opponents, as well as protect the wearer. They were often made of iron and leather. In Italy, during the Carnival Festival in Venice, elaborate masks are worn to provide mystery. And in West Africa, masks are used in religious ceremonies to communicate with spirits and ancestors. Many are made with wood, ivory or clay. 
After learning about masks, students sketched out design ideas for their own plaster mask. Many students were inspired by popular culture, super heroes, symbols, and sports. We also cut plaster strips to prepare for mask making. 
Mask making was done in two sessions, with half the class making their mask one week, and half the class making their mask the following week. Students also worked in pairs to help a partner complete their mask within our 40 minute art class. To make their plaster mask, students began with a plastic mask form that was covered with Vaseline, so that their finished mask would slip off easily when dry. Students dipped pieces of dry plaster in water, then placed them on their plastic mask form and smoothed them with wet fingers to make the plaster come out and cover the holes. 
Students made sure to overlap their strips and could choose whether to leave the eye holes open or closed, as well as the mouth. This depended on their design. Students also made sure to smooth the plaster pieces together to make the top layer the smoothest surface on which to paint. After three layers of plaster, the masks were left to dry. 
After our plaster mask making sessions, students got their dry mask back and were ready to paint! We used acrylic paint (instead of tempera paint, which we usually use) so that they paint would stay on and not flake off the mask later. Students noticed that the acrylic paint dried quickly. 
Students spent two to three classes painting their masks, considering how to paint their design in layers so that they could add details on top. Depending on the design, some students had to paint their mask all one color, or two colors, before adding details on top. Other students began with the white base of the mask and painted details directly on top. 
On our last mask making class, student added extra details using a variety of different materials. Some students added ears to their animal mask, or feathers to a masquerade inspired mask. The following class we worked on artist statements for our masks. An artist statement is a written explanation of an artist's work. You can tell the viewer about the motivation and inspiration behind your design, how you made your work, and any additional information you want the viewer to know. Students typed up their artist statements so they could be accompany their mask on display. Below are some examples of our plaster masks on display!
Mrs. Bellis's Class
Ms. Domermuth & Ms. Fantasia's Class
Mrs. Psychoghios's Class
Mr. Twomey's Class


Tuesday, April 9, 2019

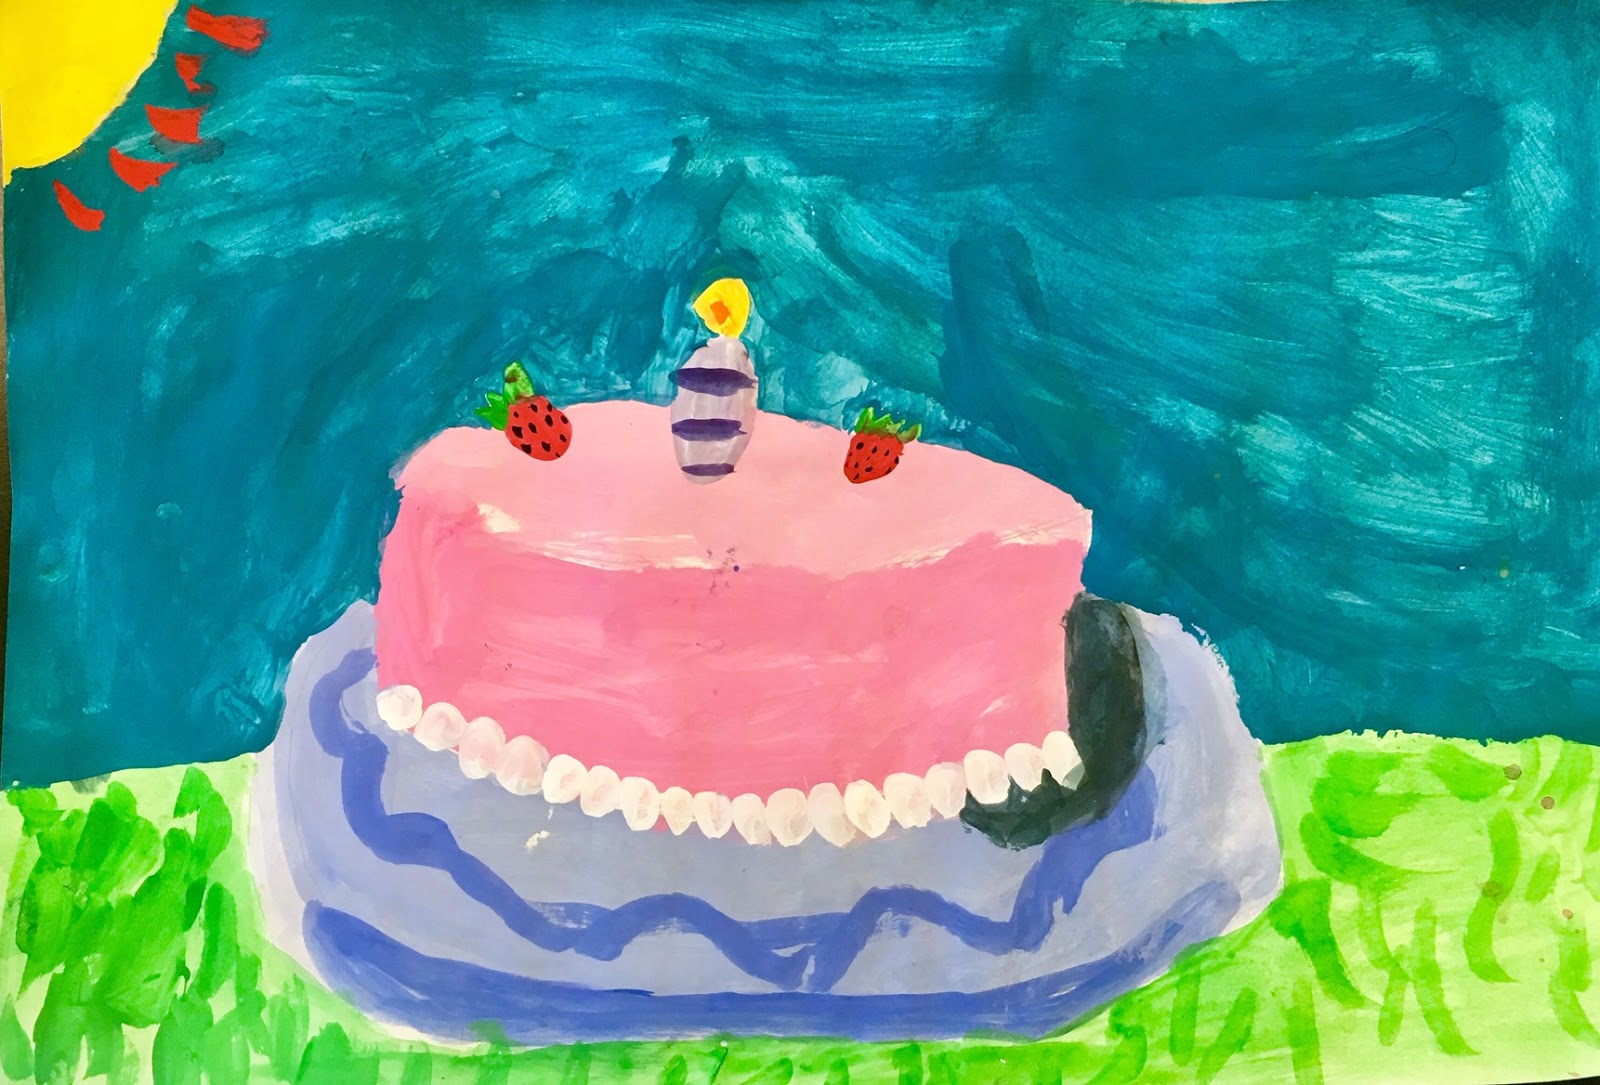
Delicious Desserts, Inspired by Wayne Thiebaud

After exploring color mixing by creating new colors and naming them, 3rd grade artists looked at and discussed the work of American painter Wayne Thiebaud. Thiebaud (pronounced "tee-bow") is known for his paintings of everyday objects, like food, and is still alive and making art today! 
Wayne Thiebaud, Four Ice Cream Cones (1964)
We looked at his paintings of different kinds of desserts and noticed his use of bright colors and dramatic, colorful shadows. Looking at several examples made us hungry! 
To begin our own paintings of desserts, we looked at the geometric shapes and forms that make up a lot of our favorite desserts. We noticed that many desserts are either a cylinder, like a cake or pie; a cone shape, like an ice cream cone; a sphere, like the scoop of ice cream; or a triangular prism, like a slice of cake. We brainstormed and drew a few sketches of our favorite desserts before selecting one to sketch out on larger paper, focusing on the shapes. 
The following class, we used our recent experience with mixing colors to paint our favorite desserts! We thought about how we could mix a variety of colors, thinking about the bright colors that Thiebaud uses in his painting, as well as using white to create lighter tints of a color. 
Students painted their desserts, incorporating tints, and the following week, they added additional details on top, now that the first layer of paint had dried. Students thought about how they could decorate their cakes, ice cream cones, sundaes and doughnuts with creative details like frosting, sprinkles, flowers, candles and hot fudge. 
During the next class, students painted the background, considering the use of a complementary colors and colors that would help their desserts to stand out. Since Thiebaud is also known for his use of strong shadows, we looked at cast shadows and how the shape of the object changes the shape of the shadow. Students added a colorful shadow to their dessert, and many students actually chose to add a window in their background to show a light source. 
For our last class, students participated in a gallery walk to see everyone's artwork and also a turn and talk to share their work with a partner. Here are some colorful examples of our delectable Wayne Thiebaud inspired desserts:
Ditty, 3rd Grade (Fletcher)
Gianna, 3rd Grade (Monfette)
James, 3rd Grade (Donato)
Laisa, 3rd Grade (DeBaie Nickl)
Mane, 3rd Grade (Fletcher)
Mary, 3rd Grade (DeBaie Nickl)
Norah, 3rd Grade (Monfette)
Ruken, 3rd Grade (DeBaie Nickl)
Sean, 3rd Grade (Donato)
Bianca, 3rd Grade (Debaie Nickl)
Duncan, 3rd Grade (Fletcher)
Griffin, 3rd Grade (Fletcher)
Leila, 3rd Grade (Donato)
Mason, 3rd Grade (DeBaie Nickl)
Noa, 3rd Grade (Donato)

Friday, April 5, 2019

Out of this World Outer Space Resists

Recently, 4th grade artists thought about how to use color to make shapes appear less flat and more three dimensional. We noticed that adding shading to a shape, as well as a highlight, helps transform the flat shape into a three dimensional looking form. We applied this concept to our outer space drawings, using oil pastels. 
To begin, students brainstormed a list of things you might see in outer space, including the Earth, sun, planets, stars, asteroids, space stations and more. After sketching out their compositions, students drew their outer space scenes on larger paper and used oil pastel to add color and depth. 
Students were encouraged to use several colors on each object, considering the light source and where there might be shade to help give objects and three dimensional appearance. We used monochromatic colors, or colors within the same color family, as well as analogous colors, or three colors next to each other on the color wheel. 
Students thought about using light, medium and dark colors to use on the same object to create a three dimensional appearance. Students got very creative and imaginative with their details, including aliens, food items, and space junk! 
When they finished drawing with oil pastel, students painted their entire artwork with black watercolor paint. This is called resist, because the oil pastel resists the watercolor paint, and allows the oil pastel outer space objects to stand out. Here are some examples of our out of this world outer space resist paintings! 
Anastasia, 4th Grade (Graves)
Anna, 4th Grade (Doherty)
Ava P., 4th Grade (Mattson)
Brian, 4th Grade (Mattson)
Callan, 4th Grade (Butera Wandicho)
Elizabeth, 4th Grade (Mattson)
Etta, 4th Grade (Graves)
Isabella, 4th Grade (Graves)
Marwa, 4th Grade (Mattson)
Mary, 4th Grade (Graves)
Mera, 4th Grade (Mattson)
Muntaha, 4th Grade (Butera Wandicho)
Sophie, 4th Grade (Mattson)
Willa, 4th Grade (Doherty)
Coleman, 4th Grade (Doherty)
Dylan, 4th Grade (Butera & Wandicho)

Autumn, 4th Grade (Graves)

Viveca, 4th Grade (Doherty)

Kalleby, 4th Grade (Mattson)